
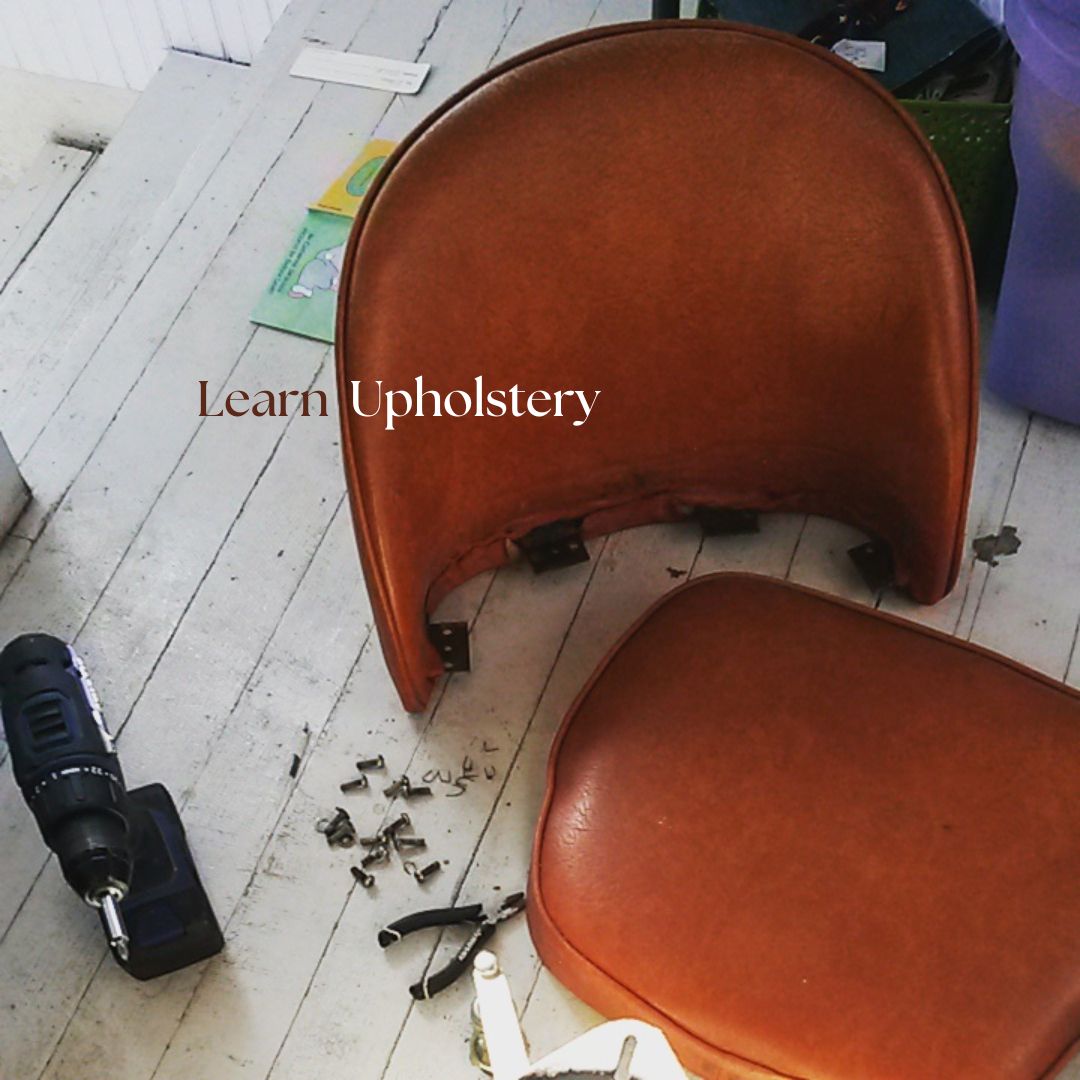
Hi! At this point you know that I love my gig as an upholsterer. I share that part quite a bit but it dawned on me that I do not share some of the meat & potato parts of the job. When I was starting out (12 years ago) there were no podcasts, very few blog posts, and one person, that I could find, doing videos. I had to be a part of a forum to get questions answered! My best source of information was through books, which I still recommend but I understand that there are many ways to learn. Let’s jump in!
Tools
We should start with tools. I will show you the ones I used in the beginning and the ones I use now. Disclaimer: when I was starting out I had no budget and that was okay! You have to start somewhere and there is absolutely no shame in working with what you have!
Then…

This first set is SUPER simple! When I gathered my supplies for this picture I didn’t realize that I had kept most of my first tools. I am more nostalgic then I realize! The only tool I no longer have is the manual stapler. That thing was a hand-killer! Also, I couldn’t afford a compressor yet.
If you are starting out and have small to no budget then I still suggest most of these tools. I would exchange the screw driver for a clawed staple remover (pictured below) but the rest will work just fine.
Now…
Let’s jump to what I use today. Please note that these are the tools I grab for every job but are not the only ones being used. This is a basic tool set and every upholsterer has their own.

As you can see, my primary set has grown a little bit. If you’re wondering why there is a furniture pad at the end of the hammer, it is for hammering in nailhead trim. This is a tip I got from a fellow upholsterer and friend. You will also see a pair of side-cutters instead of blunt pliers. This is the best way to pull out a stubborn staple as it does not require much pulling. Another quick note, if you are going to use a cloth tape make sure it is a vinyl one as there is no stretch in that material. I had an actual cloth tape for awhile (bc I love vintage stuff) and the measurements never matched between the tape and yard stick. No good!
Not So Basic Tools & Other Workroom Stuff
Compressors are a must in the field of work. I use a small donut compressor that can run up to 3 nailguns at one time. An upholstery buddy of mine has a huge compressor but he does automotive work along with his upholstery and needs the power. For home upholstery a donut compressor and 10ft hose should do ya.
Pneumtaic staple guns are the best! I use Fasco and Porter Cable and they do just fine. There are many types but these tend to be the most reliable in my world and don’t cost a fortune. I also use nailguns, a nailhead trim gun, right angle rulers, a 60″ ruler, and a scissor sharpener. Very important when you live in a rural area like I do and can’t get them sharpened very often.
Tables
Okay, there are many schools of thought here and I have tried at least 3 different versions of it. What I have widdled it down to is that you should always have a large table that is wide enough for bolt of fabric to roll out on and use for cushions, dining seats, and any other light work. The table should sit somewhere between your be waist and just above your hips, depending on your height and what is comfortable for you. Bending over to cut fabric or work below your waist will hurt your back.
Putting some version of storage under the table is a must. One of my tables has a shelf at the bottom, the other just a couple of side pieces that can hold many bolts of fabric. Use what works for your storage style and your space.


Furniture Horses
For the bulk of the furniture I like to use furniture horses. For a full tutorial watch this video by The Workroom, it is my favorite and very user-friendly. I can tear down a couch, chair, ottoman, you name it, on my furniture horses and then build them all back up. It keeps my furniture at a manageable height for standing and sitting. I highly recommend!

Last tool that you will end up needing at some point is a foam cutter. Think oscillating knife. This can be a bread knife, automotive knife (like mine), or a fancy one by Bosch made specifically for this purpose. My Bosch died so I am back to the automotive knife for now. Ugh.
Furniture Supplies
Every job is going to need these 3 things:
- Dacron (batting)
- Burlap
- cardboard strips
Are you confused yet? Okay, the Dacron, or batting, is a bonded polyester and used to cover any part of the chair that has foam, including cushions. It is also used to cover the burlap and give the frame a softer look. Burlap is used to close the frame up after you are done pulling the fabric over it. This hides all the stapling, fabric ends, and otherwise messy parts of putting new fabric on a piece of furniture. The cardboard strips are used to hold fabric in place when it shows on the outside. Look at the back of your chair and note how the fabric is in place but there are no staples. Cardboard stip is one of the ways we do that.


Some Other Furniture Supplies
You will more than likely need at least one or two more of these supplies to get the job done and looking great. Let’s break them down.

Welt Cord: comes in various sizes and is used to add definition to cushions and/or frames. It is also called piping.

Tack Strip: metal strip with spikes to fold fabric and hold in frame at the sides of a back or side panel.

Curve Ease: to hold fabric onto a frame that has curve to it. Staples onto the frame, fabric is pushed into the claw part then hammered down to reveal a nice finished fold. Great to use under a welt.
Yardage Chart
We are finally onto the part that everyone knows, the fabric! It takes a few years to know how much fabric a piece of furniture will need just by looking at it. In the meantime, we have these handy-dandy yardage charts! These yardage charts are not going to cover every piece of furniture out there but it will get you close. It is meant as a guide, not as an absolute, you will still need to do some measuring with that cloth tape of yours to get an accurate number. Get your printable version here!

A few quick suggestions to follow: a standard chair/couch cushion will take 1.5 yards of fabric. Remember to account for a pattern, you’ll need more fabric. Get familiar with “Rubs, Double Rubs, & Wyzenbeek Rubs”. These numbers tell you how strong the fabric is and whether or not it is suitable for furniture.
That’s it for today’s lesson! This was a lot of information but I know it will be helpful in your journey. Feel free to reach out with questions, I am here to help! Happy upholstering!

Leave a Reply